Getting started
This page covers installation, signing in and the very first launch.
Requirements
- A dedicated Windows VPS — never your personal PC (Botify runs on a VPS only). See Requirements & VPS.
- A Botify account (provided with your access).
- At least one SOCKS5 proxy (mandatory, HTTP is not supported) — see Proxies.
- Your tracks published online through a distributor — see Distributing your music.
Everything below is done from the VPS (connected over RDP), not from your own PC.
Installation & sign-in
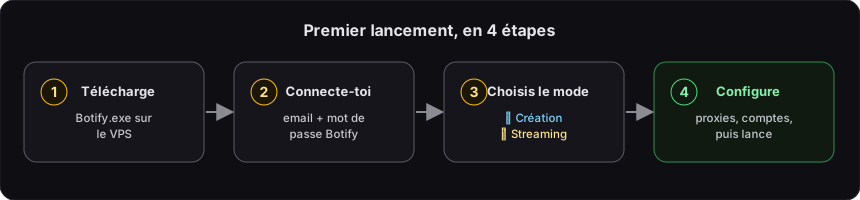
- Download Botify.exe from the official site/Discord directly onto the VPS, then run it.
- On first launch, Windows may show SmartScreen “Éditeur inconnu” (Unknown publisher) (the app is not signed by a CA). Click “Plus d’infos” (More info) → “Exécuter quand même” (Run anyway).
- Sign in with your identifier and password. The machine is registered (HWID) on your account and set to streaming automatically — nothing to choose.
Sign-in fails?
- “device limit reached” — you have hit your tier’s device limit. Free up a slot via Paramètres → Mon compte (Settings → My account), from another machine.
- “subscription expired” — subscription expired, renew it on the site.
- “banned HWID” — machine banned, contact support (see Terms of use).
Device limit
Your plan sets a maximum number of streaming devices based on your tier:
| Tier | Streaming devices |
|---|---|
| Ghost | 2 |
| Label | 5 |
Managing your devices
Go to Paramètres → Mon compte → Appareils (Settings → My account → Devices): there you can see every registered machine (name, last activity). To free up a slot — for example a machine you no longer use, or a duplicate — delete the device from that list. The slot becomes available again immediately for a new machine.
What’s next?
- Set up your Streaming → Streaming mode then Proxies.
- Set your CapSolver key and your “Accounts to create per day” cap (Accounts page) — see Accounts.